HappyCardFactory Designs

Dream. Create. Inspire.

  • Shop
  • Facebook
  • Pinterest
  • Twitter
  • Instagram
  • Home
  • Our Store
  • Blog
  • Tutorials
  • 3D Projects
    • 3D Crafts
    • 3D Flowers
    • 3D Letters
  • Contact
  • About Me
    • About Me
    • Disclosure
    • Privacy Policy
  • Join Our Group
You are here: Home / DIY / DIY Embossing Mat for Your Electronic Die Cutter

DIY Embossing Mat for Your Electronic Die Cutter

December 5, 2013 by Rebecca Wagner 4 Comments

zigchri062
Have you ever wanted to use your electronic die cutter to emboss some of those awesome files you own but don’t want to buy those expensive mats to only use once or twice? You may be like me, I had hesitated purchasing an embossing mat because of the price. What if I didn’t use the mat that often? I would constantly worry if my machine settings were off, thus tearing the mat up. It would be money wasted. Figuring out how to make my own could save me some dough, right? Right!  I’ll show you how easy it is to DIY. An embossing mat for your electronic die cutter with materials you may already have on hand. Plus, it can be replaced if tore up for the price of a piece of foam. Which was only 79 cents, by the way. Oh yeah!  Let’s get started.
 
Supplies:
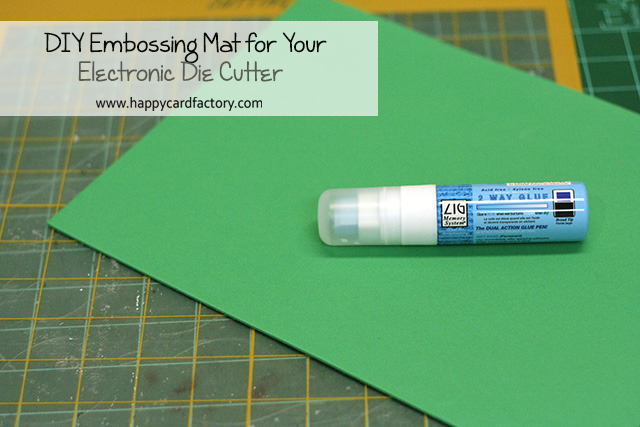
  • Cutting Mat (one with strong adhesive, I used my Gazelle Thick Media mat)
  • craft foam under 2mm thick, preferably 1 mm
  • repositional glue
As you can see, I only use three products.  This project is turning out cheaper than I thought. I didn’t even have to run to the craft store. Boy, when I am crafty, I’m reeeeaaally crafty.  
zigchri066
The first thing you want to do is stick your foam to the mat. I got pretty lucky, I just happened to have a Gazelle Thick Media mat lying around not being used. It was perfect for this as it is extra sticky, the foam adhered to the mat extremely well with a little brayering. I have not tried this with a standard mat, but I am sure if it is not sticky enough some duct tape or glue will work fine. If you do use glue, I would recommend something like I use here that is repositionable. That way if you need to replace the foam or just use the mat, pull it up and add another piece. Notice I offset my foam a little from the corner. It is a 9×12 piece and it needs to pass between the rollers that I will move when using this mat. The foam is thick and those rollers will make some nasty indents in my project if I don’t take precautions.zigchri078
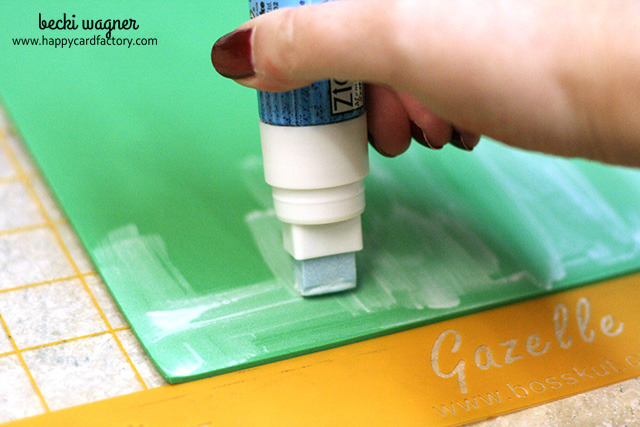
Once my foam was attached, I started applying glue to the entire piece. I love the ZIG 2-Way because it has a great tack without tearing my paper. Again, you can use any repositionable glue or tape just make sure it does not have a permanent bond.zigchri080
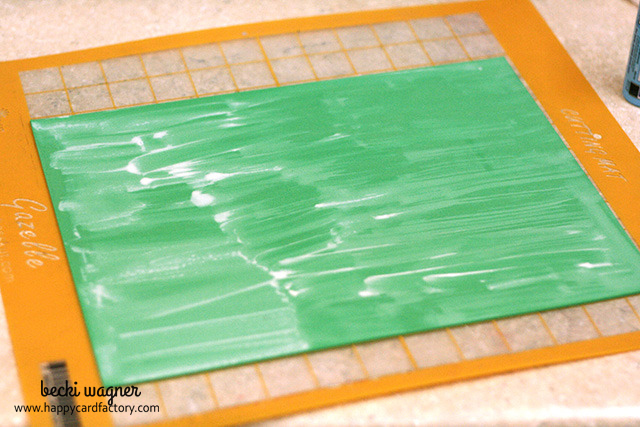
Once the glue is dry you won’t see anything but a slight shine on the foam. It was weird that the foam foamed up the glue. Never saw that happen before but it doesn’t affect the results at all. I just mention it in case you wonder what in the world is happening when you try it.
 
That’s all there is to making your own embossing mat for your electronic die cutter. Pretty simple, huh? Cheap, too. Make sure you check out my project showing if my frugality panned out later in the week. You will be pleasantly surprised!
 

Filed Under: DIY, embossing, tutorial

« Christmas Tree Treat Boxes
Emboss With Your Electronic Die Cutter! »

Comments

  1. Jackie says

    January 22, 2014 at 1:15 pm

    I am new to this group and reading your directions (embossing) you mentioned a Gazelle mat. I have never heard of this. Where can I find more info.
    Regards,
    Jackie

    Reply
  2. Becki says

    January 22, 2014 at 3:04 pm

    The yellow Gazelle mat I was referring to is a mat to use with the electronic die cutting machine the Boss Kut Gazelle. It is their heavy duty, extra sticky mat. The machine is available for purchase at http://www.bosskut.com. Hope this helps and if you have any questions, let me know! 🙂

    Reply
  3. genny says

    November 7, 2020 at 1:06 am

    hi, do you know where can I buy some Replacement Cutting Bladed for the gazelle? thanks

    Reply
    • Becki says

      February 11, 2021 at 11:34 am

      Hi, Genny.

      I don’t know where you would get them since they went out of business. I haven’t used my Gazelle in probably six years. Did you try eBay?

      Reply

Leave a Reply Cancel reply

Your email address will not be published. Required fields are marked *

This site uses Akismet to reduce spam. Learn how your comment data is processed.

About the Designer

Hi, I'm Rebecca. I am a child of God. A loving wife of 29 years. A boy mom. A collector of gadgets, gizmos, and superhero action figures. Making the world more organized one planner at a time. Read More…

  • Facebook
  • Instagram
  • Pinterest
  • Twitter

Looking for Something?

Categories

Copyright

You are welcome to feature or share any article, as long as you use only one image and link back to the specific post. You may NOT edit, crop, remove my watermark, or change my images in any way without written permission.

Republishing posts in their entirety is prohibited. If I somehow produce something that inspires you to create your own, please credit me and link back to my site. Thanks!
  • Blog
  • Home
  • Tutorials
  • About Me
  • Contact Me
  • 3D Projects
  • CGP VIP Group

Join us on Instagram

Does anyone else suddenly become a pink-and-purple Does anyone else suddenly become a pink-and-purple person in February…
or is it just me?

I don’t even fight it anymore.
February = soft colors, cozy plans, and a planner that matches the mood. 💕

#februaryvibes #plannercommunity #pinkplanner #plannerlove #citygirlplanners
Behind the scenes at CityGirl Planners. No factor Behind the scenes at CityGirl Planners.

No factories.
No automation.
Just Chris, a laminator, and a whole lot of patience.

Every tab you flip?
Hand-fed. Hand-finished. Hand-checked.

Small business life isn’t glamorous… but it is made with care.

#citygirlplanners #smallbusinesslife #plannercommunity #behindthescenes #plannerlove
Botanical Notes are officially live 🌿 I was ab Botanical Notes are officially live 🌿

I was able to scale them all the way down to Pocket Size, so they’re now available in every size we offer: Pocket, Personal, Half Size, A5, and Classic.

Same clean layout, same calm vibe, just more size options.

#plannercommunity #citygirlplanners #stationerylove #plannerrefills #citygirlplans
Fueling the Plan cover ☕✨ Because big ideas do Fueling the Plan cover ☕✨
Because big ideas don’t happen without caffeine, cute stationery, and a plan that actually gets written down. Spiral-bound, 6 x 8, and ready to live in your bag, your desk, or your favorite coffee shop booth.

This one’s for the list-makers, dream-chasers, and “one more coffee then I’ll start” crowd. 💅📓

#FuelingThePlan #SpiralNotebook #PlannerGirl #CityGirlPlanners #CoffeeAndPlans
Because I know someone was going to ask 😌 Yes, Because I know someone was going to ask 😌
Yes, our A5 inserts do fit in a Coach Notebook with top tabs — you just need an A5 ring adapter.
This one’s from The Life Paperie on Etsy and it’s a solid little workaround.

#A5Planner #PlannerSetup #RingPlanner #PlannerInserts #PlannerAccessories
New year. Blank slate. Same chaos, better paper. B New year. Blank slate.
Same chaos, better paper.
Botanical Notes, ready when you are.

#blankslate #newyearpages #botanicalnotes #stationerylover #plannerinspo
You asked. We’re answering. (Just… give us a m You asked. We’re answering.
(Just… give us a minute 😉)

We’re taking our most-loved functional inserts and rolling them into our gradient print lineup, starting with the classics you use every single month. This one’s the Monthly Bills tracker in Lilac Hex, and honestly… paired with pink? She understood the Valentine’s Day assignment 💕

More favorites. More gradients. Same no-nonsense function.
Slow rollout, zero chaos. Worth the wait.

💜💗

#plannerinserts #functionalplanning #billtracker #plannercommunity #plannerlove #gradientplanner #lilachex #pinkplanner #valentinesvibes #ringbinderplanner #planningwithstyle #stationerylove #plannerflatlay #organizedlife #citygirlplanners
From loose pages to a finished love story. 📓✨ From loose pages to a finished love story.
📓✨

This 6x8 spiral notebook pairs the Swept Away cover with our Botanical Notes dot grid inside—soft florals, clean space, and just enough structure to catch all the thoughts that refuse to stay quiet.

Printed, punched, coiled, trimmed—every step done by hand.
Because some stories deserve better than a boring notebook.

#spiralnotebook
#handmadepaper
#stationeryshop 
#notebookreel
#plannercommunity
#bookishvibes
#romancenotebook
We won’t lie, we miss the foil. ✨ But when our We won’t lie, we miss the foil. ✨
But when our foiling machine officially kicked the bucket, we rolled up our sleeves and got creative instead.

Meet the four new gradients stepping in as foil’s glow-up cousins. No drama, just smooth color and crisp prints. And judging by the reviews… yeah, people are loving them.

Sometimes Plan B turns out pretty darn good. 💁‍♀️
Follow Us!

Categories

Archives

Copyright © 2026 · HappyCardFactory Designs