HappyCardFactory Designs

Dream. Create. Inspire.

  • Shop
  • Facebook
  • Pinterest
  • Twitter
  • Instagram
  • Home
  • Our Store
  • Blog
  • Tutorials
  • 3D Projects
    • 3D Crafts
    • 3D Flowers
    • 3D Letters
  • Contact
  • About Me
    • About Me
    • Disclosure
    • Privacy Policy
  • Join Our Group
You are here: Home / Pen Feature / Faux Letterpress

Faux Letterpress

December 11, 2013 by Rebecca Wagner 3 Comments

faux letterpress
 
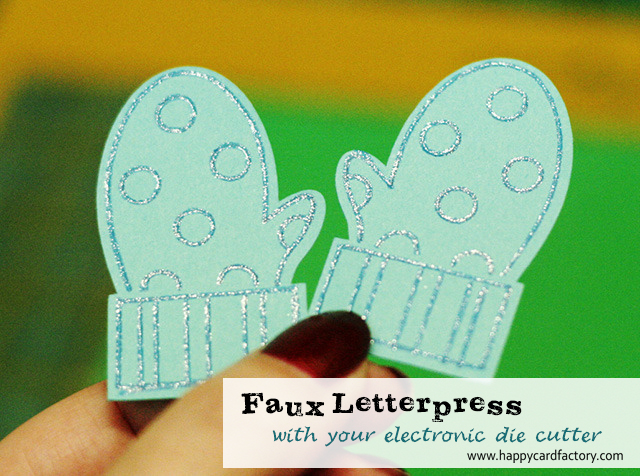
Yep, you read that right- Faux Letterpress. You may know how to use this technique with your cutting machine already, but it was news to me! I love the clean, simple line look with a slight depression that comes with Letterpress. So classic. Besides, I am always looking for fun and creative ways to use my electronic cutting machines and this fits the bill. I can try something new without having to purchase additional supplies. Anything that saves money!
 
zigchri119
 
Making faux letterpress is pretty much the same as the embossing with the exception that you would use a pen in place of the tool. The foam mat really helps the pen get that depression that is indicative of Letterpress. Here are the supplies again:
  • embossing mat (make your own if you don’t have one!)
  • Seasoned Christmas Cut It (mittens) by Lettering Delights
  • cardstock
  • pen or marker (a thinner point creates a cleaner look)
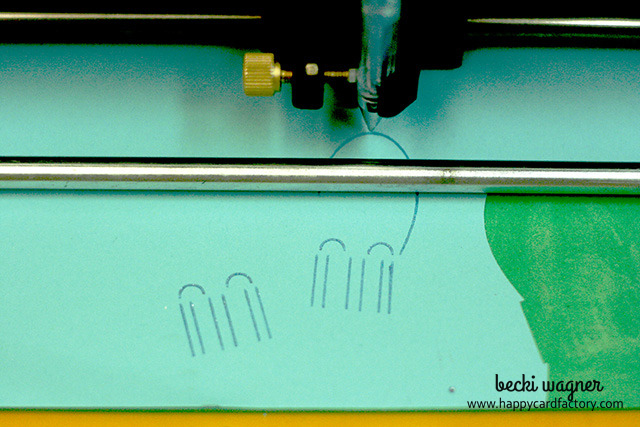
Place a pen into your machine. Since we are cutting the outlines, try to get your pen as centered as possible. Have your pen draw the inner lines of your file. Start on a lower force and bump it until you get a nice impression. I like to write settings down for future use. You need to start with a lower force otherwise if it is too high it will tear into your paper and mat. The pen tip will go right through. Be careful using a heavy flow pen or marker and going over it too many times. It will make your lines very wet and tear your project.
 
zigchri124
 
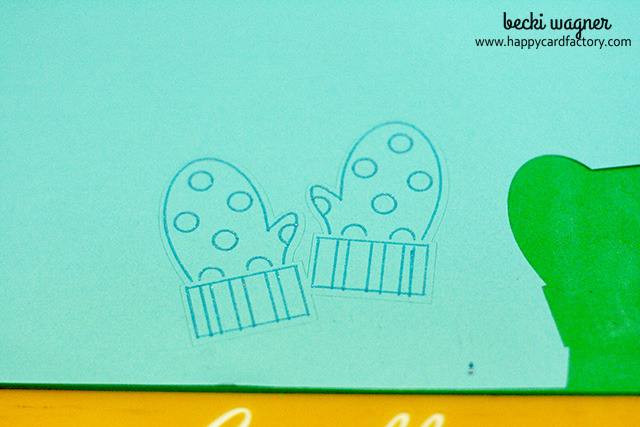
Replace your pen with the blade after the machine has completed drawing. Note, if you have your blade set correctly, it will just barely scratch the foam like it would on your regular mat as evidenced below. Another tip, if you lower your pen just a little more than it should normally be it helps with the impression and how dark your ink will be.
 
zigchri117
 
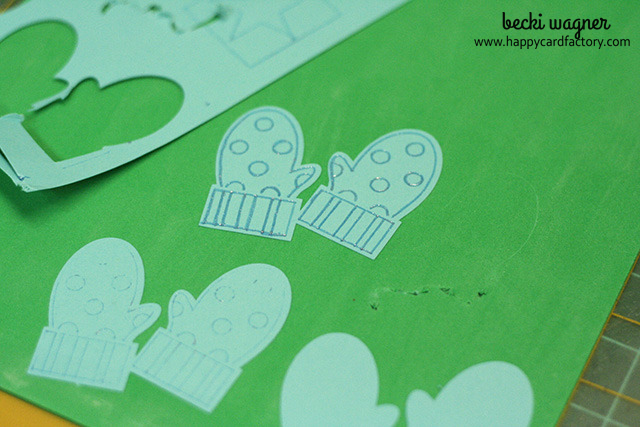
The bottom left set of mittens is with my pen at the normal height. The top middle left is with it slightly lowered. Much better impression and inking. Yeah, ignore that tear in my foam. My blade went wonky for some reason when I was test cutting. I must have had the blade too far out. 
 
zigchri126
 
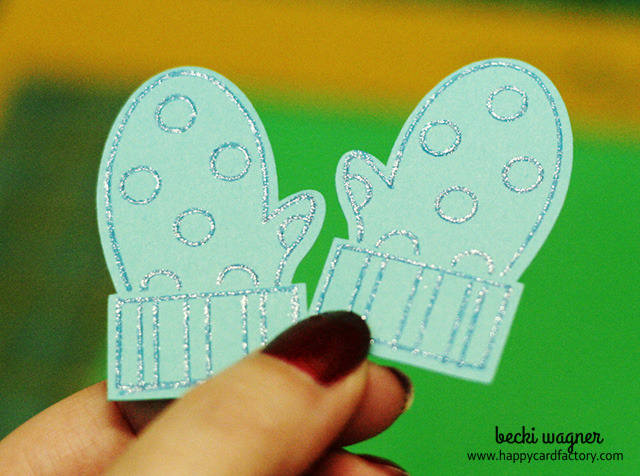
Yes, I know you wouldn’t use shiny ink in Letterpress. I used a metallic gel pen from the dollar bin so the camera would catch the depressions. Can you see them? If you can’t, I can vouch that this is surefire faux Letterpress on the cheap! You did catch the cheap part, yes? Cheap is my second favorite word. The first being “free.” Ha!


Filed Under: Pen Feature, tutorial

« Ribbon Handle Boxes
You Melt My Heart Treat Bags »

Comments

  1. Melissa S says

    January 2, 2014 at 11:47 am

    THANK YOU THANK YOU THANK YOU! I’m so excited to try this with my scrapping and cardmaking!:)

    Reply
    • Becki says

      January 3, 2014 at 12:57 pm

      You’re very welcome, Melissa!

      Reply

Leave a Reply Cancel reply

Your email address will not be published. Required fields are marked *

This site uses Akismet to reduce spam. Learn how your comment data is processed.

About the Designer

Hi, I'm Rebecca. I am a child of God. A loving wife of 29 years. A boy mom. A collector of gadgets, gizmos, and superhero action figures. Making the world more organized one planner at a time. Read More…

  • Facebook
  • Instagram
  • Pinterest
  • Twitter

Looking for Something?

Categories

Copyright

You are welcome to feature or share any article, as long as you use only one image and link back to the specific post. You may NOT edit, crop, remove my watermark, or change my images in any way without written permission.

Republishing posts in their entirety is prohibited. If I somehow produce something that inspires you to create your own, please credit me and link back to my site. Thanks!
  • Blog
  • Home
  • Tutorials
  • About Me
  • Contact Me
  • 3D Projects
  • CGP VIP Group

Join us on Instagram

Some days the bar is high. Some days the bar is si Some days the bar is high.
Some days the bar is simply… still here.

And that’s something.

Meet the Still Here Notepad.
A gentle reset for the days that hurt, when the smallest wins still count.

Because sometimes the most important thing you do all day…
is keep going.

#citygirlplanners #plannerlove #notepad
We’ve got some good ones! #citygirlplanners #pl We’ve got some good ones!

#citygirlplanners #plannercommunity #plannerrefills #plannerstuff
Just waiting on that UAP info to drop. 🤔😏 # Just waiting on that UAP info to drop. 🤔😏

#unicornsfromuranus #citygirlplanners #plannerlife #stationerylove
So, I did a thing. Working on a pain point for Per So, I did a thing. Working on a pain point for Personal size. This is for those of you who think it’s too narrow but don’t want to purchase a new PW binder. Franklin Covey Compact is the next best thing. 

If you have a FFC binder already, we now will have refills for you too! 

#franklincoveycompact #citygirlplanners #personalringplanner #lvmmagenda
Foil lovers... we heard you. Since our foil equi Foil lovers... we heard you. 

Since our foil equipment went down, the messages and emails have not stopped. We know how much you love the look and honestly we love it too.

Replacing commercial foil equipment runs into the tens of thousands of dollars and, like a lot of small businesses right now, that's just not realistic. 

After months of testing with our existing setup, we think we found a way to bring foil back.

It's not mass factory perfect. Occasionally there may be a tiny spot where the foil doesn't pull 100%. Nothing obvious, nothing we wouldn't personally use, and nothing that doesn't meet our standards will ship.

But overall? We think it looks pretty gorgeous.

Before we officially bring foil back…

Would you still want it knowing it's handcrafted and not machine perfect? 

Tell me honestly in the comments. Your feedback will decide this one. 

#foilinserts #foilingtechnique #citygirlplannersinserts #citygirlplanners
Now on to the cutting phase. #citygirlplanners # Now on to the cutting phase. 

#citygirlplanners #stationerylove #plannercommunity #behindthescenes
New notepads in the making. Any guesses? #citygir New notepads in the making. Any guesses?

#citygirlplanners #plannercommunity #plannerlove #citygirlplannersinserts
Nothing ruins a perfectly good month like… bills Nothing ruins a perfectly good month like… bills.

Good news: when everything’s written down, at least the chaos is organized.

Pay it. Check it off. Pretend you’re thriving.

#CityGirlPlanners #AdultingButMakeItCute #BillTracker #PlannerLife #OrganizedChaos
Personal Size planners get a bad rap for one reaso Personal Size planners get a bad rap for one reason…

They’re narrow.

And I get it.
Personal is the perfect middle ground. Bigger than Pocket, fits in your purse, but way more portable than A5.

But the width?
That’s always been the complaint.

Lately I’ve been seeing people try to squeeze Personal Wide into standard Personal binders… and then wonder why the pages stick out.

So instead of making it wider… I went the other direction.

Foldouts.

For 2026, I reworked the layout to give you more planning space without changing the footprint.

Month on one page
Straight into your weekly
Dashboard space (because you know I had to keep that)
And when it’s folded?
Standard Personal Size. Fits your binder like it should.

Now I need your opinion before I finalize this…

What works better in vertical boxes?

Graph (left side)
or
Lines (right side)

Tell me in the comments — Graph or Lines?
Follow Us!

Categories

Archives

Copyright © 2026 · HappyCardFactory Designs