HappyCardFactory Designs

Dream. Create. Inspire.

  • Shop
  • Facebook
  • Pinterest
  • Twitter
  • Instagram
  • Home
  • Our Store
  • Blog
  • Tutorials
  • 3D Projects
    • 3D Crafts
    • 3D Flowers
    • 3D Letters
  • Contact
  • About Me
    • About Me
    • Disclosure
    • Privacy Policy
  • Join Our Group
You are here: Home / Sizzix eclips / Use Your Sizzix eclips to Cut Out Pre-Printed Images

Use Your Sizzix eclips to Cut Out Pre-Printed Images

November 22, 2013 by Rebecca Wagner Leave a Comment

Do you have a favorite picture that you would like to use in a scrapbook layout or in a craft project? Would you like it to match the decorative photo mat you have already cut out? I have a great tutorial that will let those that have the three point registration system on their machine cut out any pre-printed images, stamp or photo with any shape you like. Get your supplies ready. I have a pre-printed image, transfer paper, a pick, black marker, label SVG file, Sizzix eclips and eCAL.
Pre Printed title
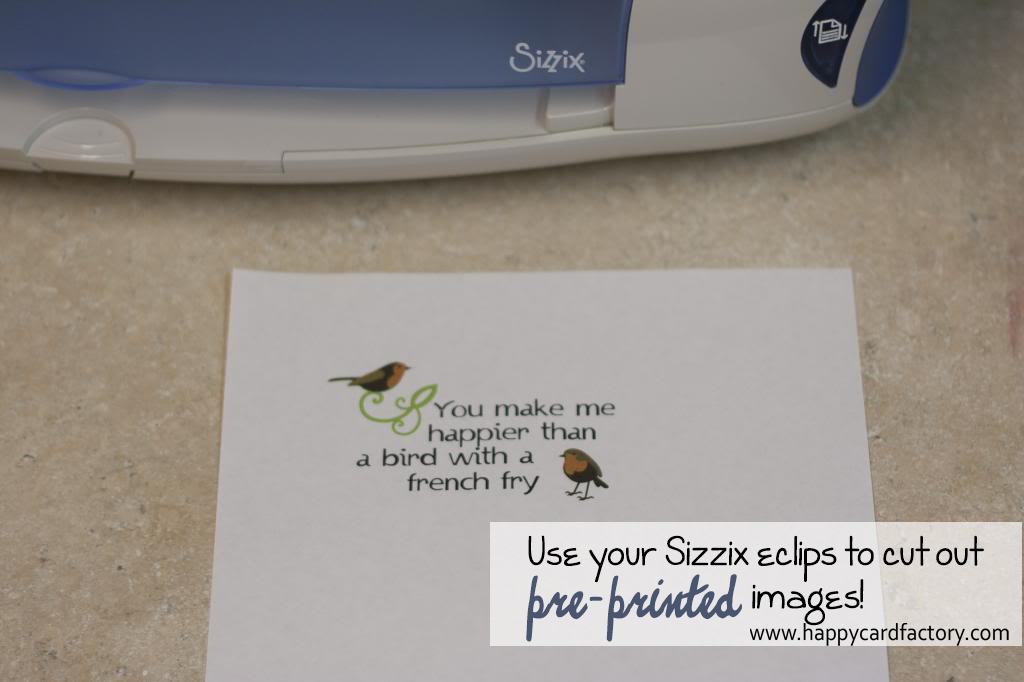
1. First, you want to start with the image you would like cut out. The above picture is not a very good representation of what this tutorial is really for. I could have easily accomplished a standard Print n Cut with this image. But I had neither a old magazine or photo to use. So I would like you to bear with me, pretend it’s a picture of your sweetheart or a field of flowers.  
cemtut6
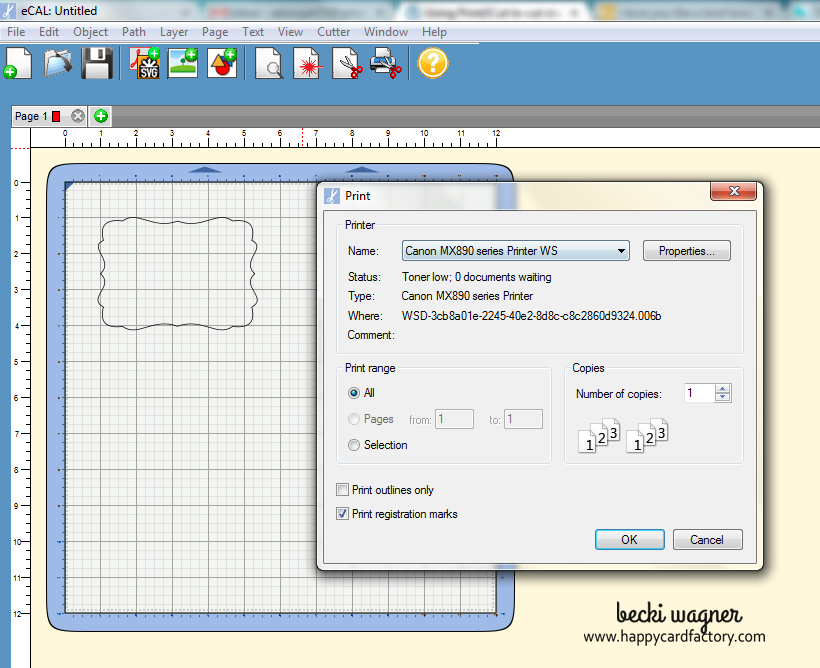
2. Next, bring the shape you would like for your picture to the virtual mat. Make sure it does not have a fill color, only a stroke. Also, take this time to size the shape to fit your image how you previously determined. For this example, I want it to completely cut out my image. After you have gotten your file just how you want it, print it out on a very light material. The object is to be able to place the shape over your image for correct placement. I used tracing paper here. It could be printed on anything from very light printer paper, transparencies, or vellum. Make sure you tick the box to print the registration marks.
MarAprCEM020
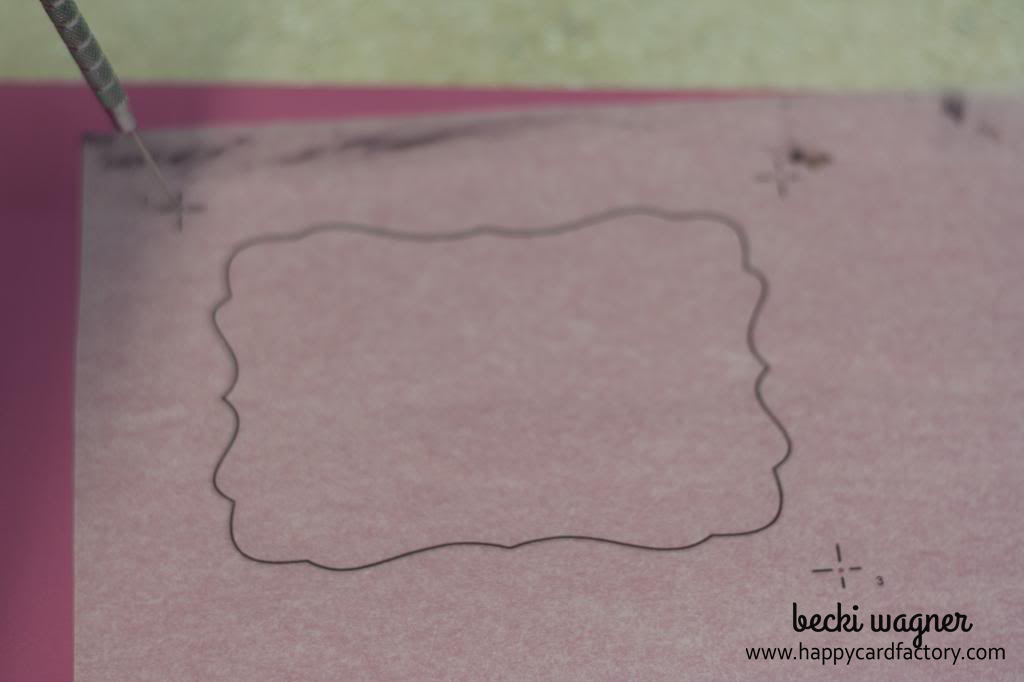
3. After your shape is printed, place your printout over a piercing mat and poke out the middle of each of the registration marks.   
MarAprCEM024
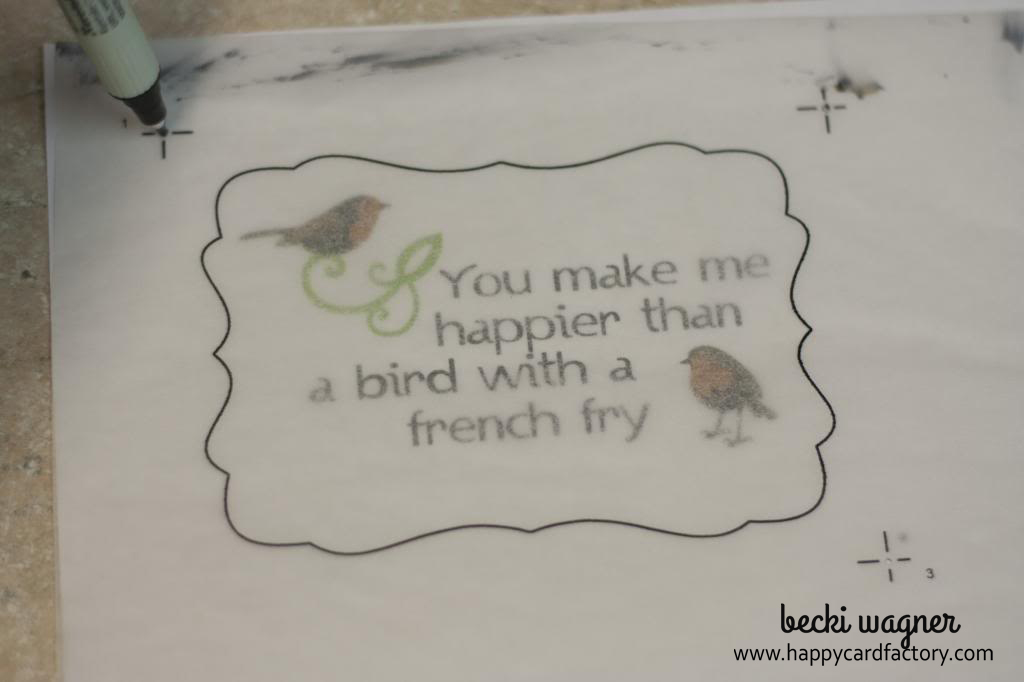
4. Place your shape over your image. When you are satisfied with how it looks, use your marker in the holes you poked earlier to place black dots.
MarAprCEM025
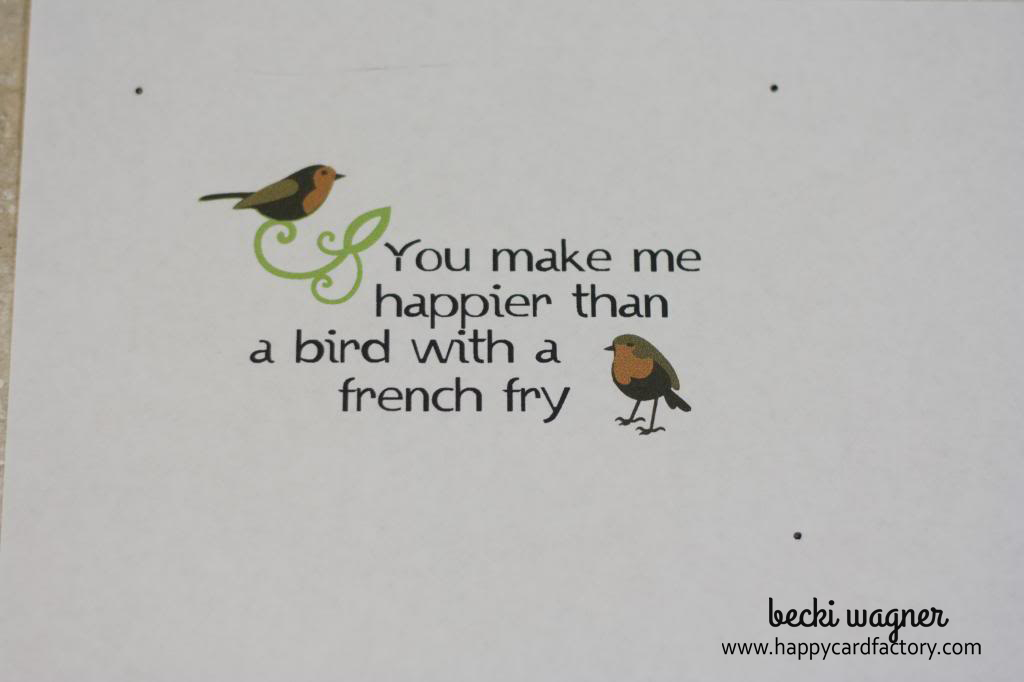
5. Your image will now look like the above. It is now ready to cut. Place it on your mat and load into the machine.  
MarAprCEM031
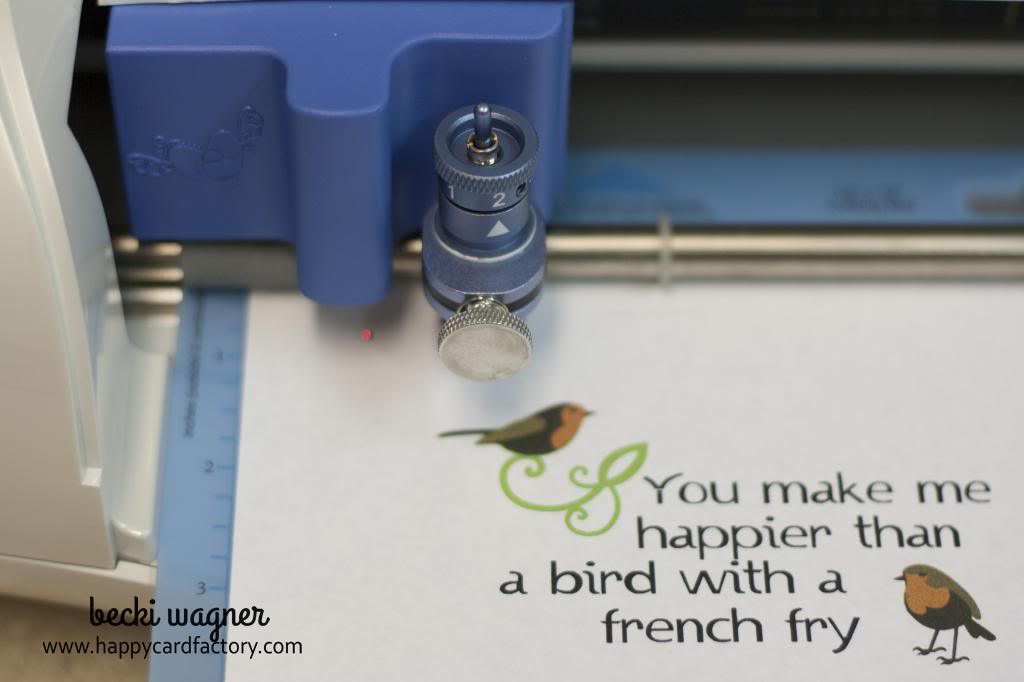
6. Take your software through the motions of a Print n Cut. Make sure you register the dots in order, usually starting from the top left, then top right to end at the bottom right. Now you can hit the cut button. 
MarAprCEM035
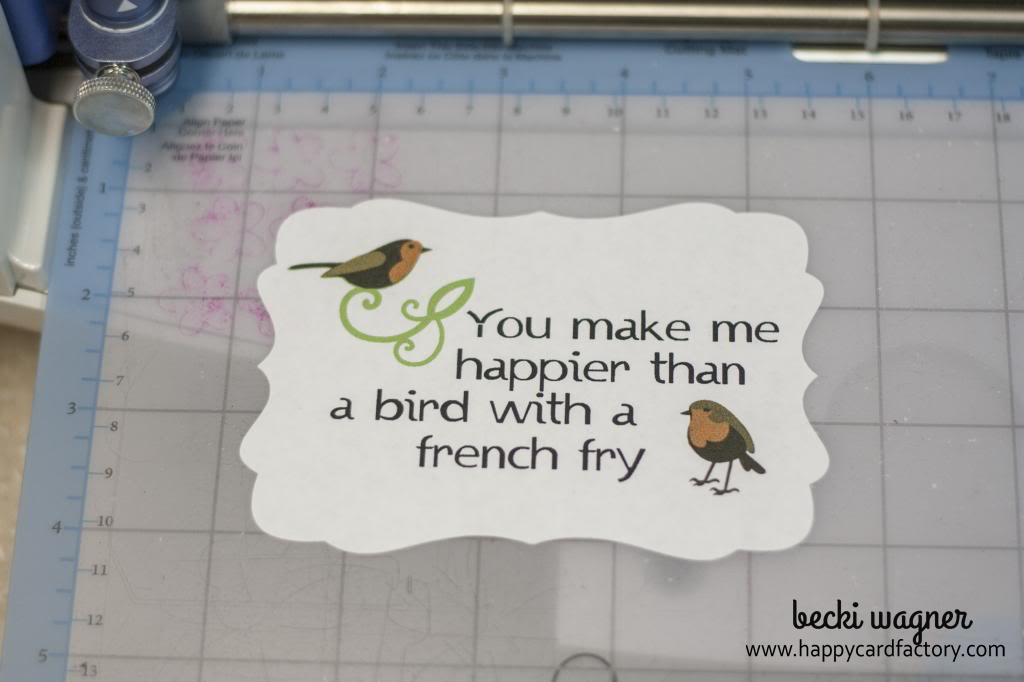
7. Your end result – a perfectly cut pre-printed image for cards, labels, scrapbook pages, etc. I used this image on my French Fry gift box project. 
 
*bird images courtesy of SVGCuts Robin’s Return kit

Filed Under: Sizzix eclips, tutorial

« Apron Treat Boxes
Happier Than a Bird With a French Fry Box »

Leave a Reply Cancel reply

Your email address will not be published. Required fields are marked *

This site uses Akismet to reduce spam. Learn how your comment data is processed.

About the Designer

Hi, I'm Rebecca. I am a child of God. A loving wife of 29 years. A boy mom. A collector of gadgets, gizmos, and superhero action figures. Making the world more organized one planner at a time. Read More…

  • Facebook
  • Instagram
  • Pinterest
  • Twitter

Looking for Something?

Categories

Copyright

You are welcome to feature or share any article, as long as you use only one image and link back to the specific post. You may NOT edit, crop, remove my watermark, or change my images in any way without written permission.

Republishing posts in their entirety is prohibited. If I somehow produce something that inspires you to create your own, please credit me and link back to my site. Thanks!
  • Blog
  • Home
  • Tutorials
  • About Me
  • Contact Me
  • 3D Projects
  • CGP VIP Group

Join us on Instagram

Some days the bar is high. Some days the bar is si Some days the bar is high.
Some days the bar is simply… still here.

And that’s something.

Meet the Still Here Notepad.
A gentle reset for the days that hurt, when the smallest wins still count.

Because sometimes the most important thing you do all day…
is keep going.

#citygirlplanners #plannerlove #notepad
We’ve got some good ones! #citygirlplanners #pl We’ve got some good ones!

#citygirlplanners #plannercommunity #plannerrefills #plannerstuff
Just waiting on that UAP info to drop. 🤔😏 # Just waiting on that UAP info to drop. 🤔😏

#unicornsfromuranus #citygirlplanners #plannerlife #stationerylove
So, I did a thing. Working on a pain point for Per So, I did a thing. Working on a pain point for Personal size. This is for those of you who think it’s too narrow but don’t want to purchase a new PW binder. Franklin Covey Compact is the next best thing. 

If you have a FFC binder already, we now will have refills for you too! 

#franklincoveycompact #citygirlplanners #personalringplanner #lvmmagenda
Foil lovers... we heard you. Since our foil equi Foil lovers... we heard you. 

Since our foil equipment went down, the messages and emails have not stopped. We know how much you love the look and honestly we love it too.

Replacing commercial foil equipment runs into the tens of thousands of dollars and, like a lot of small businesses right now, that's just not realistic. 

After months of testing with our existing setup, we think we found a way to bring foil back.

It's not mass factory perfect. Occasionally there may be a tiny spot where the foil doesn't pull 100%. Nothing obvious, nothing we wouldn't personally use, and nothing that doesn't meet our standards will ship.

But overall? We think it looks pretty gorgeous.

Before we officially bring foil back…

Would you still want it knowing it's handcrafted and not machine perfect? 

Tell me honestly in the comments. Your feedback will decide this one. 

#foilinserts #foilingtechnique #citygirlplannersinserts #citygirlplanners
Now on to the cutting phase. #citygirlplanners # Now on to the cutting phase. 

#citygirlplanners #stationerylove #plannercommunity #behindthescenes
New notepads in the making. Any guesses? #citygir New notepads in the making. Any guesses?

#citygirlplanners #plannercommunity #plannerlove #citygirlplannersinserts
Nothing ruins a perfectly good month like… bills Nothing ruins a perfectly good month like… bills.

Good news: when everything’s written down, at least the chaos is organized.

Pay it. Check it off. Pretend you’re thriving.

#CityGirlPlanners #AdultingButMakeItCute #BillTracker #PlannerLife #OrganizedChaos
Personal Size planners get a bad rap for one reaso Personal Size planners get a bad rap for one reason…

They’re narrow.

And I get it.
Personal is the perfect middle ground. Bigger than Pocket, fits in your purse, but way more portable than A5.

But the width?
That’s always been the complaint.

Lately I’ve been seeing people try to squeeze Personal Wide into standard Personal binders… and then wonder why the pages stick out.

So instead of making it wider… I went the other direction.

Foldouts.

For 2026, I reworked the layout to give you more planning space without changing the footprint.

Month on one page
Straight into your weekly
Dashboard space (because you know I had to keep that)
And when it’s folded?
Standard Personal Size. Fits your binder like it should.

Now I need your opinion before I finalize this…

What works better in vertical boxes?

Graph (left side)
or
Lines (right side)

Tell me in the comments — Graph or Lines?
Follow Us!

Categories

Archives

Copyright © 2026 · HappyCardFactory Designs