HappyCardFactory Designs

Dream. Create. Inspire.

  • Shop
  • Facebook
  • Pinterest
  • Twitter
  • Instagram
  • Home
  • Our Store
  • Blog
  • Tutorials
  • 3D Projects
    • 3D Crafts
    • 3D Flowers
    • 3D Letters
  • Contact
  • About Me
    • About Me
    • Disclosure
    • Privacy Policy
  • Join Our Group
You are here: Home / Adhesive Paper / Make Your Own Adhesive Paper

Make Your Own Adhesive Paper

September 9, 2013 by Rebecca Wagner 6 Comments

I am sure you are going to wonder why in the world I am posting a St. Patrick’s Day project in the middle of September. This post isn’t so much about the project, but more about a technique I used (hence the title) and submitted to the March/April issue of CuttingEdge Magazine. I have almost 20 different projects I sent them and enough time has past so I am now able to post them for your viewing pleasure. There is a mixture of how to for your electronic cutting machines and projects. So be on the lookout for the next couple of months. Don’t worry, I have lots of new goodies in the works. I am a slow crafter sometimes. I also have been working on side projects for my family and friends. Enough blabber from me, on to the cool technique I found:

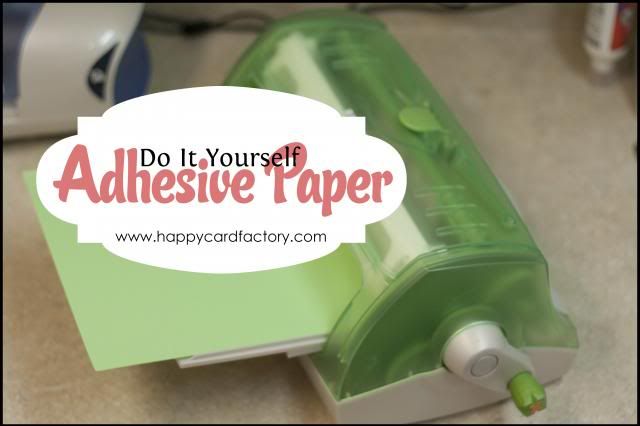
Confession time. I have a hard time with applying glue to my sentiments whenever I cut them small, mainly when I have a lot of single letters. Heck, even sometimes when I cut them big. I have seen some people run their letters through a Xyron before. That can be time consuming when you have a lot of little pieces. How can we speed that process up? How about if we ran a whole sheet of paper through? It just so happens I have a 9″ Creative Station lying around. Depending on the size of your lettering, it could be done on one of the smaller machines too I’m sure. If the paper can be run through your Xyron, then it can be used to cut with.

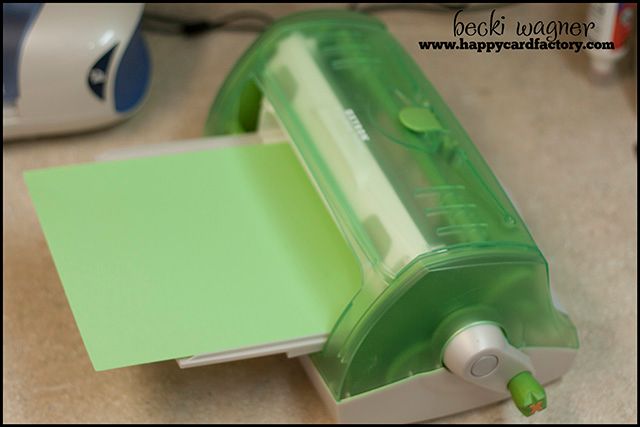
To start, run your paper through your Xyron or any other machine that can put down a even coat of dry adhesive. I don’t know of any off the top of my head, but I do live a sheltered life.

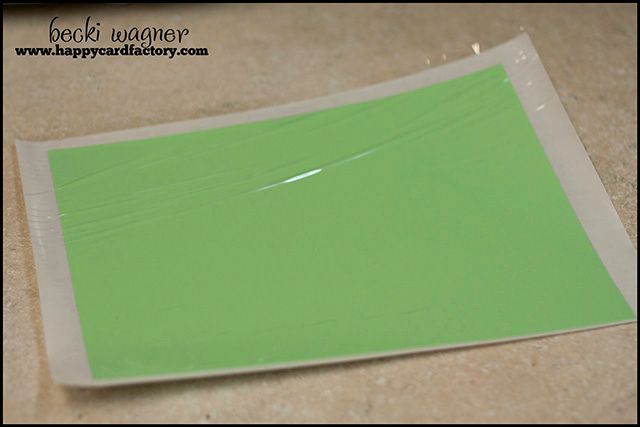
Oooo, fancy schmancy and it didn’t cost me an arm and a leg. Just a couple more steps before loading it on my mat to get-a-cuttin’.

Take the clear plastic cover off the top and cut the extra backing off the sides that is hanging beyond the cardstock. I do this because it is easier to see where your paper starts because you have to put it paper side down and backing up on your cutting mat to get it to stick. The backing is much too slick to stick to the mat.

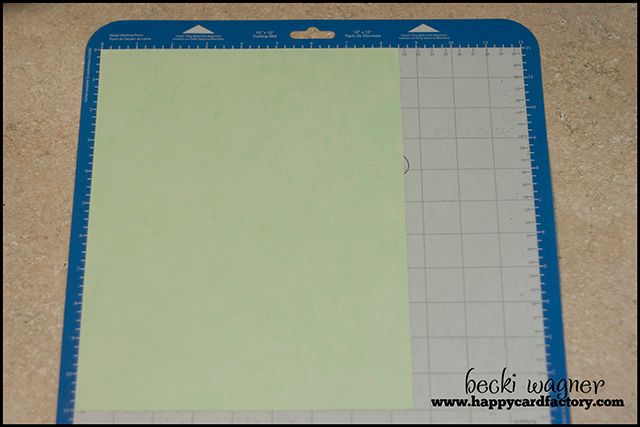
Yep, that means the next step is very crucial. You must mirror your sentiment in the software before cutting. Don’t skip this step. It leads to words flying out of your mouth that even your dog shouldn’t hear.

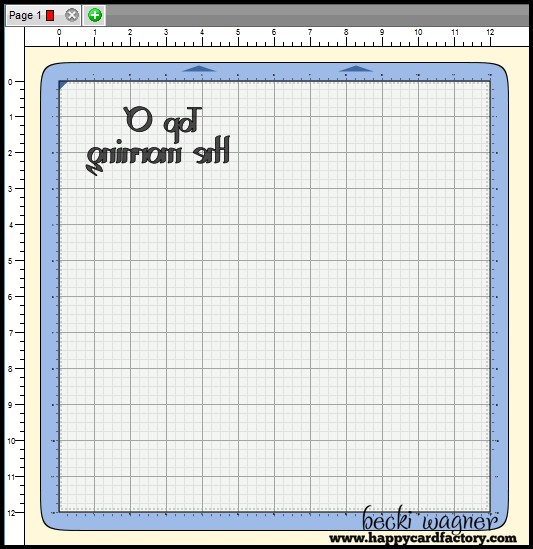
When you have checked, double checked and checked again that your letters are mirrored, proceed to cut. You did make sure you were mirrored, right? OK, just checking.

Now here is where you might want to do a test run. I cannot give you the settings for every machine made, so play around. I had to beef up the settings a bit as my blade needed to go through the paper backing, the adhesive and finally the cardstock. I set my eCAL software on chipboard to cut through on my eclips machine. Other machines may vary. Let’s take a look at the end result.

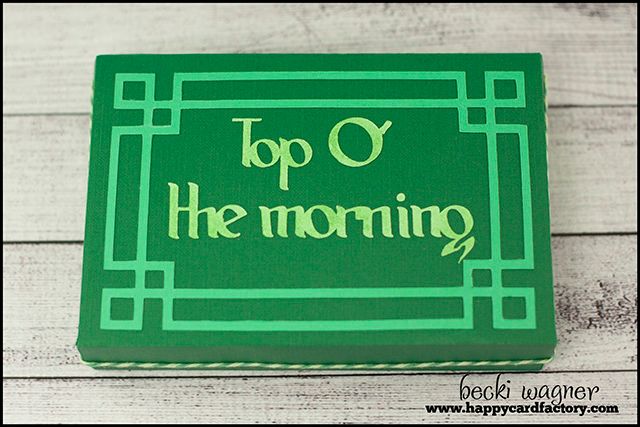
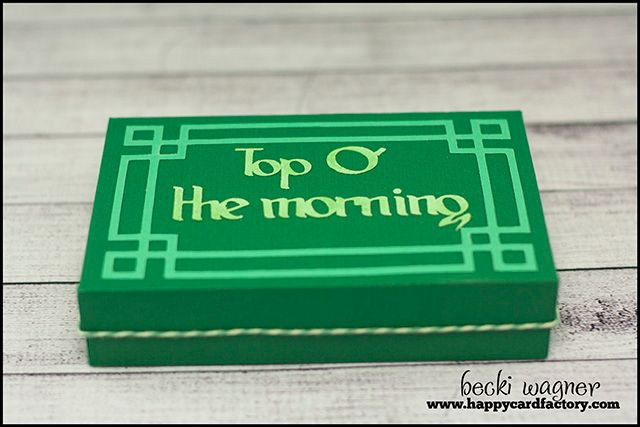
Pretty cool, huh? It was super easy to peel the backing and apply. For a tad bit of work upfront, I saved a lot of time after. You could also put adhesive on cut your favorite paper in squares to use for card mats. That would be a real time saver. What do you think? Coolest idea ever, or lame duck? Let me know in the comments.

Supplies:

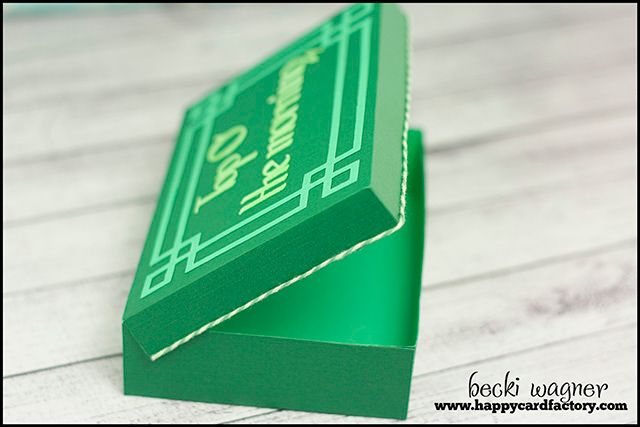
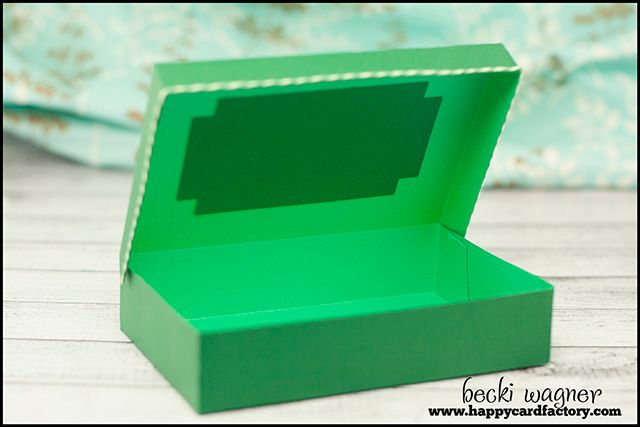
Cut Files: (box, decorative top piece) Albums, Bags & Boxes #2 cartridge; Fonts: Spirit Medium; Cardstock: (Emerald Isle) DoubleMates WorldWin, (light green) Recollections; Embellishments: (Twisted Lime) Trendy Twine; Tools: (Creative Station) Xyron, Sizzix eclips, eCAL

Filed Under: Adhesive Paper, CuttingEdge Magazine, Sizzix eclips, St. Patrick's Day, tutorial

« {FREE PRINTABLE} Eleanor Roosevelt Quote Digi Stamp
Easy Paper Pine Cones for Your Fall Decor »

Comments

  1. Cheryl W. says

    September 9, 2013 at 5:18 pm

    I have some sheets of double-sided adhesive that I think would work in a similar way. I’ll have to give it a try!

    Reply
    • Rebecca Wagner says

      September 11, 2013 at 2:10 am

      Great idea! It should work just as good.

      Reply
  2. 1Happy Mimi says

    September 10, 2013 at 12:12 am

    You made me just have a “DUH” moment! Great idea! Thanks….

    Reply
    • Rebecca Wagner says

      September 11, 2013 at 2:11 am

      hehehehe, I have lots of those! You’re welcome.

      Reply
  3. jperr says

    September 10, 2013 at 3:06 pm

    Great idea I think I will have to buy the 9in Zyron.Also thanks for the lovely cut files.
    Blessing’s Jocelan

    Reply
    • Rebecca Wagner says

      September 11, 2013 at 2:11 am

      Thank you and you’re welcome!

      Reply

Leave a Reply Cancel reply

Your email address will not be published. Required fields are marked *

This site uses Akismet to reduce spam. Learn how your comment data is processed.

About the Designer

Hi, I'm Rebecca. I am a child of God. A loving wife of 29 years. A boy mom. A collector of gadgets, gizmos, and superhero action figures. Making the world more organized one planner at a time. Read More…

  • Facebook
  • Instagram
  • Pinterest
  • Twitter

Looking for Something?

Categories

Copyright

You are welcome to feature or share any article, as long as you use only one image and link back to the specific post. You may NOT edit, crop, remove my watermark, or change my images in any way without written permission.

Republishing posts in their entirety is prohibited. If I somehow produce something that inspires you to create your own, please credit me and link back to my site. Thanks!
  • Blog
  • Home
  • Tutorials
  • About Me
  • Contact Me
  • 3D Projects
  • CGP VIP Group

Join us on Instagram

Some days the bar is high. Some days the bar is si Some days the bar is high.
Some days the bar is simply… still here.

And that’s something.

Meet the Still Here Notepad.
A gentle reset for the days that hurt, when the smallest wins still count.

Because sometimes the most important thing you do all day…
is keep going.

#citygirlplanners #plannerlove #notepad
We’ve got some good ones! #citygirlplanners #pl We’ve got some good ones!

#citygirlplanners #plannercommunity #plannerrefills #plannerstuff
Just waiting on that UAP info to drop. 🤔😏 # Just waiting on that UAP info to drop. 🤔😏

#unicornsfromuranus #citygirlplanners #plannerlife #stationerylove
So, I did a thing. Working on a pain point for Per So, I did a thing. Working on a pain point for Personal size. This is for those of you who think it’s too narrow but don’t want to purchase a new PW binder. Franklin Covey Compact is the next best thing. 

If you have a FFC binder already, we now will have refills for you too! 

#franklincoveycompact #citygirlplanners #personalringplanner #lvmmagenda
Foil lovers... we heard you. Since our foil equi Foil lovers... we heard you. 

Since our foil equipment went down, the messages and emails have not stopped. We know how much you love the look and honestly we love it too.

Replacing commercial foil equipment runs into the tens of thousands of dollars and, like a lot of small businesses right now, that's just not realistic. 

After months of testing with our existing setup, we think we found a way to bring foil back.

It's not mass factory perfect. Occasionally there may be a tiny spot where the foil doesn't pull 100%. Nothing obvious, nothing we wouldn't personally use, and nothing that doesn't meet our standards will ship.

But overall? We think it looks pretty gorgeous.

Before we officially bring foil back…

Would you still want it knowing it's handcrafted and not machine perfect? 

Tell me honestly in the comments. Your feedback will decide this one. 

#foilinserts #foilingtechnique #citygirlplannersinserts #citygirlplanners
Now on to the cutting phase. #citygirlplanners # Now on to the cutting phase. 

#citygirlplanners #stationerylove #plannercommunity #behindthescenes
New notepads in the making. Any guesses? #citygir New notepads in the making. Any guesses?

#citygirlplanners #plannercommunity #plannerlove #citygirlplannersinserts
Nothing ruins a perfectly good month like… bills Nothing ruins a perfectly good month like… bills.

Good news: when everything’s written down, at least the chaos is organized.

Pay it. Check it off. Pretend you’re thriving.

#CityGirlPlanners #AdultingButMakeItCute #BillTracker #PlannerLife #OrganizedChaos
Personal Size planners get a bad rap for one reaso Personal Size planners get a bad rap for one reason…

They’re narrow.

And I get it.
Personal is the perfect middle ground. Bigger than Pocket, fits in your purse, but way more portable than A5.

But the width?
That’s always been the complaint.

Lately I’ve been seeing people try to squeeze Personal Wide into standard Personal binders… and then wonder why the pages stick out.

So instead of making it wider… I went the other direction.

Foldouts.

For 2026, I reworked the layout to give you more planning space without changing the footprint.

Month on one page
Straight into your weekly
Dashboard space (because you know I had to keep that)
And when it’s folded?
Standard Personal Size. Fits your binder like it should.

Now I need your opinion before I finalize this…

What works better in vertical boxes?

Graph (left side)
or
Lines (right side)

Tell me in the comments — Graph or Lines?
Follow Us!

Categories

Archives

Copyright © 2026 · HappyCardFactory Designs