
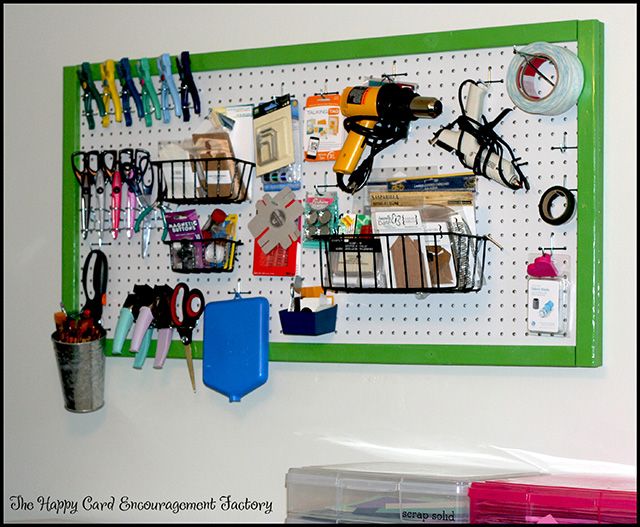
Hey everyone! I hope you enjoyed my craft room makeover and got a little inspiration. It was a lot of fun organizing. One of my favorite pieces is the simple peg board hanging my husband made for me. I did remember to take a couple of pictures while he was working on it. Unfortunately, I didn’t get one of the actual assembly. I was probably inside getting him a sweet tea for all his hard work. 😉
This project was pretty easy. We just took a peg board and sandwiched it between two pieces of wood on all four sides. I can’t believe something so simple can make a crafter sooo happy.
Supplies:
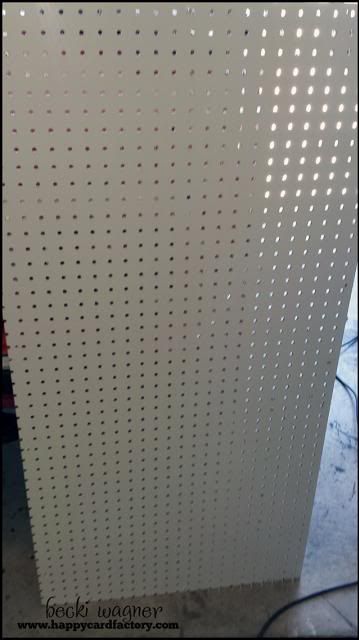
peg board (24×48)
furing strips (4 @ 24″ and 4 @ 45″)
drywall screws (8)
Behr paint
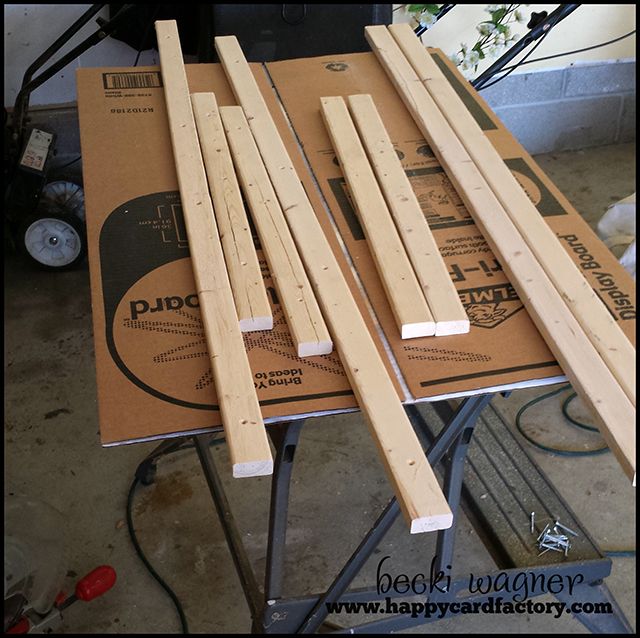
To keep this project very afforable, we used furing strips for the frame. My husband said to let everyone know they are pretty cruddy pieces of wood. Hence the price of .97 a piece. I honestly don’t mind and with the coat of paint, I can’t tell. He recommends getting a little better quality. I say use what you have and/or can afford. We as crafters can make crud look good. o__O
Cut 4 strips to 24″ and 4 strips to 45″. Since the furing is pretty rough, I couldn’t sand them down to a completely smooth finish. Just enough where it wasn’t snagging anything. Next came the paint job.
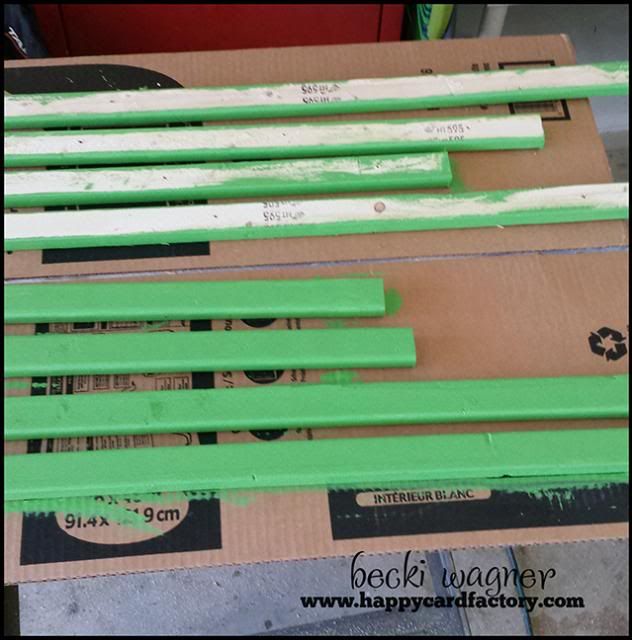
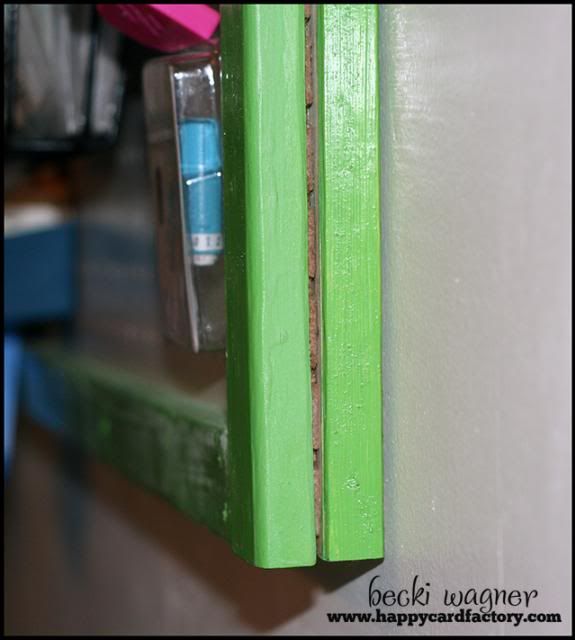
I only sanded the front and sides as the backs are going to be screwed together. When they are all dry, get to assembling. Lay the bottom pieces out and place your peg board on top. It would help if I had grabbed a picture of that. Sorry. I hope I am describing it enough for you. Basically sandwich the peg board between each piece of wood with the smaller pieces on the sides and the longer across the top/bottom. Make sure the wood is even with the board on all sides and screw them together. It should look like this:
You guys probably totally get it and I am way over-explaining it. Sorry, I just want to make sure my posts make sense. I know I don’t make sense in real life, so I feel sorry for whoever reads this blog. lol
Anyway, be on the lookout for a few more craft room makeover detail posts. I also have a couple more simple kitchen reveals like the measuring spoon post from last week. I wonder if I will ever get back to paper crafting…hmmm….yeah, one day.

Leave a Reply