Can I say I have been kind of obsessed with the Midori Traveler’s notebooks lately? All that beautiful leather in a rainbow of colors! But they are so expensive. A Dori can’t be touched online for anywhere under $30 for the standard size. What is a notebook junkie crafter to do? You all know the answer, right? That’s where my DIY Field Notes Traveler’s notebook comes in.
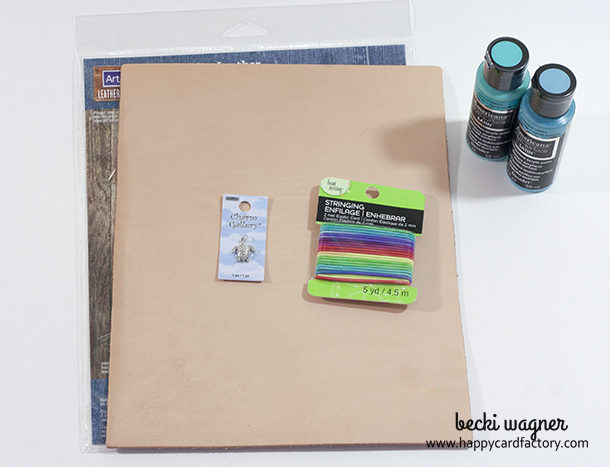 I did purchase a cloth one with a pretty chevron pattern, but it really can’t replace a smooth, soft, supple leather one. While I was waiting on my chevron to be delivered, I did a little research on making my own. That’s when I found a DIY video made with materials you can get at your local craft store. Awesome, now I don’t have to go to a special shop. Armed with a coupon, an 8.5″x11″ sheet of vegetable tanned leather can be had for less than $7. Then you need some 2mm elastic, charm (optional), and dye if you want some color. I didn’t have any dye, but I heard you can use acrylic paint because it is basically the same thing. For the price I paid for the leather, I decided to go for it and it came out wonderful!
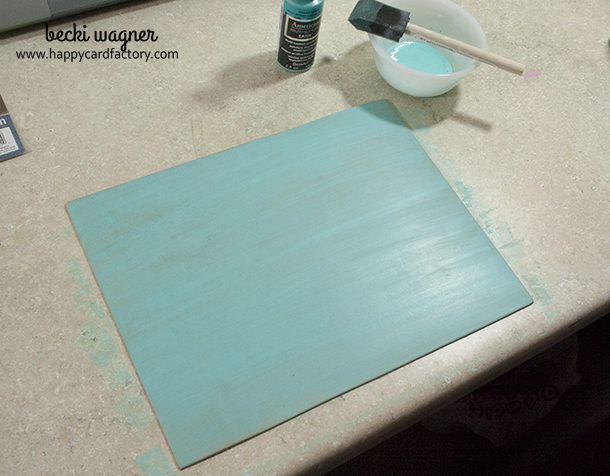 You, regular readers, know I rarely think too hard about things. I tend to just do it, then figure out how I could have done it better later. This time is not an exception. Although, I don’t think it matters too much honestly, but I would paint after cutting. It might be a tad easier to cut the leather without coats of paint. For the first two coats, I added equal parts of water to the Americana Multi-Surface Satin in Coastal Waters. Then two without. The paint gave it a nice smooth coat that didn’t crack when bent and folded.
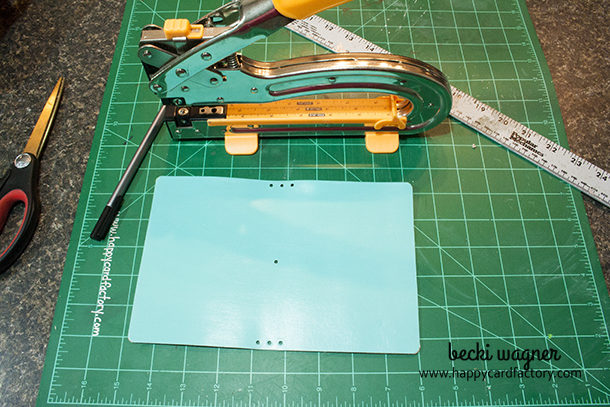 Folding the cover in half to get a rough idea where your middle band and strap holes will go. Since I wanted four elastics, I added a hole on each side of the middle one, top and bottom.
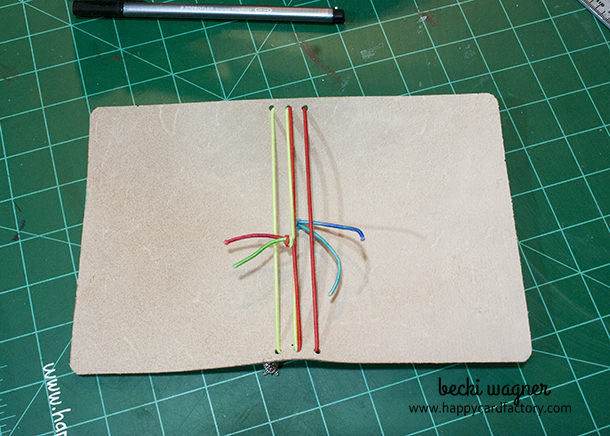 Don’t even ask how I strung this thing. I don’t have a clue. It took me a few times. If you just do a search for added elastic to a Midori, there are plenty of sites that will show you. Probably all a better way than I did.
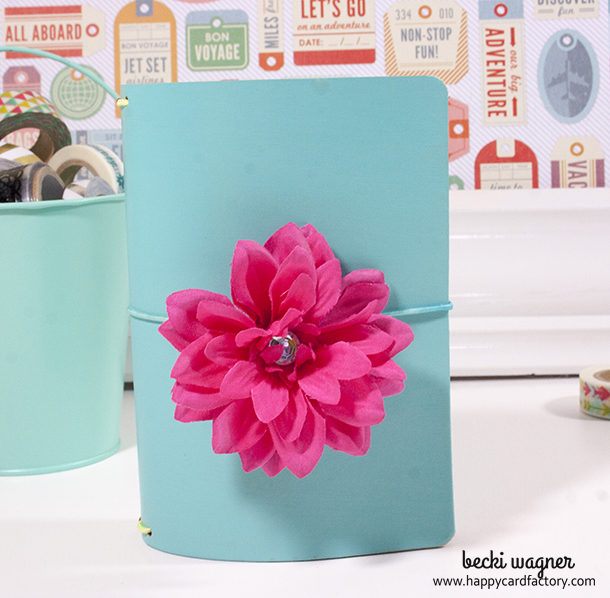
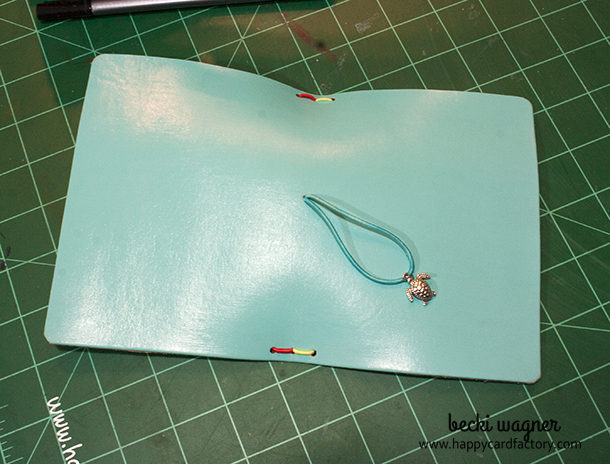 Before adding my strap, this cute little silver turtle had to go on. The charm is entirely optional. If you are going to add one make sure you string him before inserting the strap and tying it off. All in all, it’s a pretty simple process for a project that finishes looking this great. I mean, isn’t that turtle the cutest thing? The clip-on pink flower looks pretty good, but I would be afraid to put it in my purse with it on.
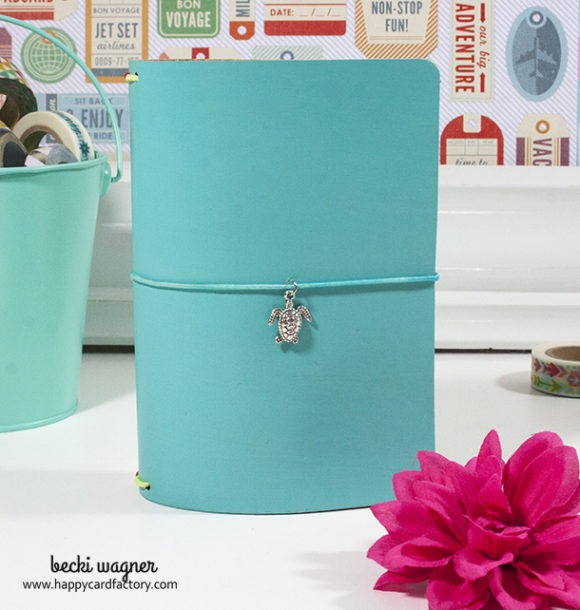 The project took a couple of hours. Most of that is waiting for the paint to dry in between coats. Oh, and threading the book the correct way. :/ I ended up with the Field Notes size (for 3.5″ x 5.5″ sized inserts) due to a cutting error. I don’t mind, it is a cute size and very portable. With the leather sheet size, you could very well make the standard size (for 4.33″ x 8.25″ sized inserts) with very little trimming. After I was done, I did add a few coats of a matte leather sheen because I was worried about the acrylic paint. It has held up so far. It doesn’t really get beat up or tossed around, so that could be a factor.
What do you think? Was this an inexpensive and quick project that turns out fantastic or what? Let me know what you think in the comments. Have a great day and happy crafting!
P.S. the little spots you see on the Midori are from my dirty camera lens, not the craft store leather. 😉

What a fun and easy project. Love the colors you chose to paint it and the cheery pics.
Thanks, Melanie! I appreciate your comment and checking out my blog. 🙂
This looks spectacular!. I am thinking about making one for my daughter for Christmas, and wanted to know how the paint is holding up. Thanks for the pictures and instructions.
The paint seems to be doing well. You can’t tell it is acrylic paint. Thanks for asking!
that is nice…