HappyCardFactory Designs

Dream. Create. Inspire.

  • Shop
  • Facebook
  • Pinterest
  • Twitter
  • Instagram
  • Home
  • Our Store
  • Blog
  • Tutorials
  • 3D Projects
    • 3D Crafts
    • 3D Flowers
    • 3D Letters
  • Contact
  • About Me
    • About Me
    • Disclosure
    • Privacy Policy
  • Join Our Group
You are here: Home / 3D / Fish Bowl Goodie Bag with Decorative Twist Tie Tutorial

Fish Bowl Goodie Bag with Decorative Twist Tie Tutorial

May 3, 2012 by Rebecca Wagner 11 Comments

Hi everybody.  I am so excited to present you with my first official Design Team project for My Thoughts Exactly!  I also want to thank everyone for the warm welcome on Tuesday.  It is such an honor to have been chosen to be part of this wonderful company and awesome group of ladies.  Anyone who reads my blog knows just how much I love My Thoughts Exactly and can tell I am jumping up and down right now.  ^__^  Anyway, you didn’t come here to hear me gush but to see the goods.  Well, here they are!! Aren’t these just the cutest?!?   Pinterest is a such wonderful time waster.   As soon as I saw this idea for fish bowl goodie bags, I knew I had the perfect stamp set to use.  I flipped through my stamps until I found the Under The Sea set and got started.  I quickly designed a fish bowl svg,  stamped some cute little phrases, plopped the candy fish inside and done.  Whew!  Took me all of 5 minutes.  Cute and simple fish bowl goodie bags for a few special kiddos!

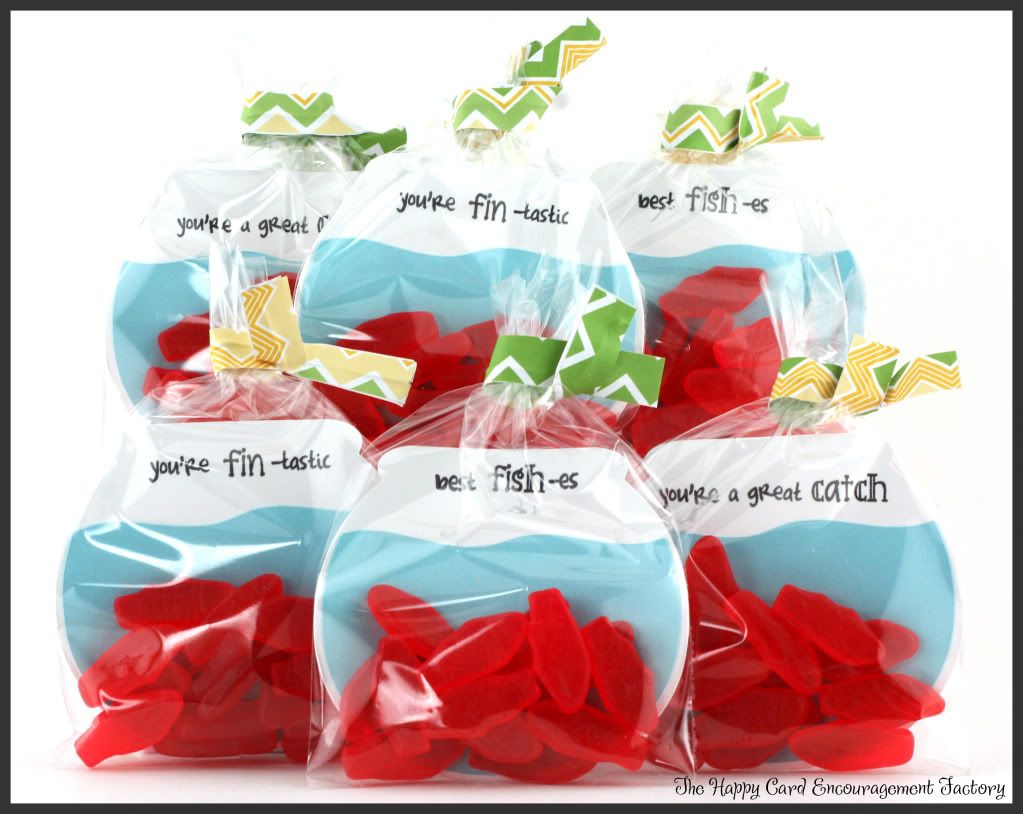
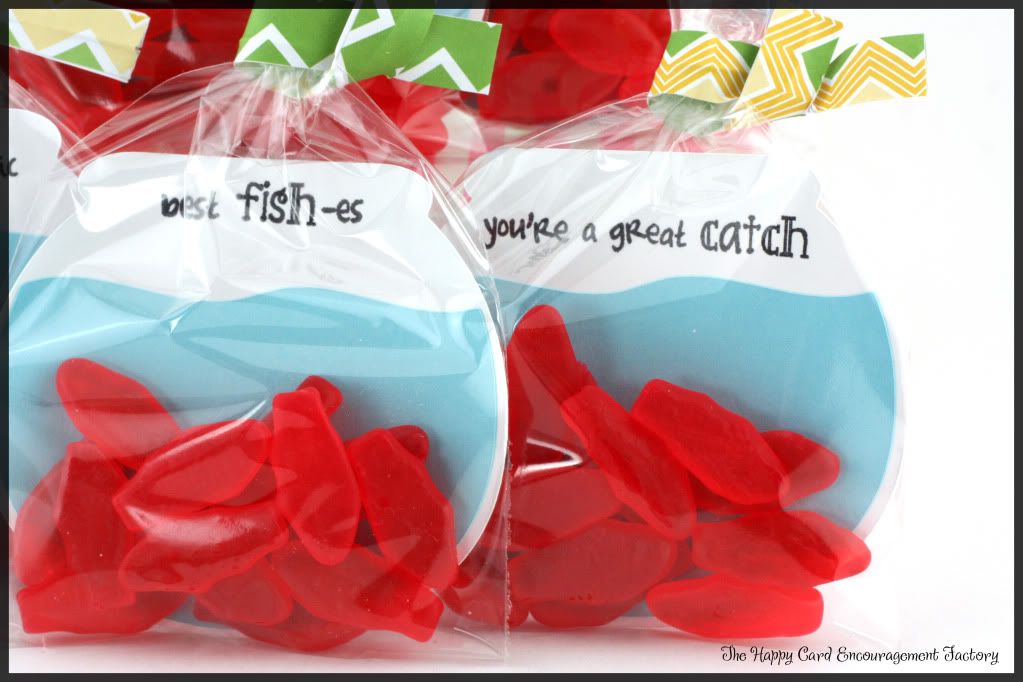
What do you all think?  Aren’t these great for the times you need a quick project to let someone know you think they are great or wish them luck?  The best part is they get yummy candy too!  You can find the fish bowl SVG in my shop! 
 
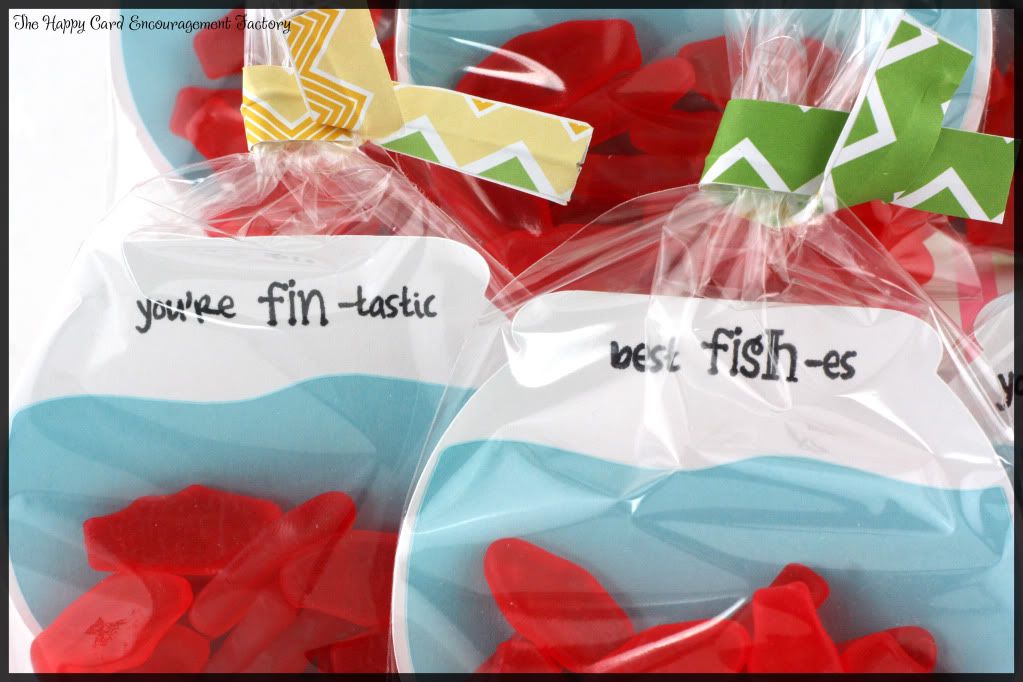
Now for the tutorial!  See those twist ties up there on the bag?  Yep, it’s time for a I did it myself to save money making my own decorative twist ties and screwed up so you don’t have to “tutorial.”  *audience applause*  I didn’t have any twist ties on hand, so I did what any resourceful crafter would do – make them!  I will share with you, my dear readers, how to make these but also tell you what I am going to do different next time.
 
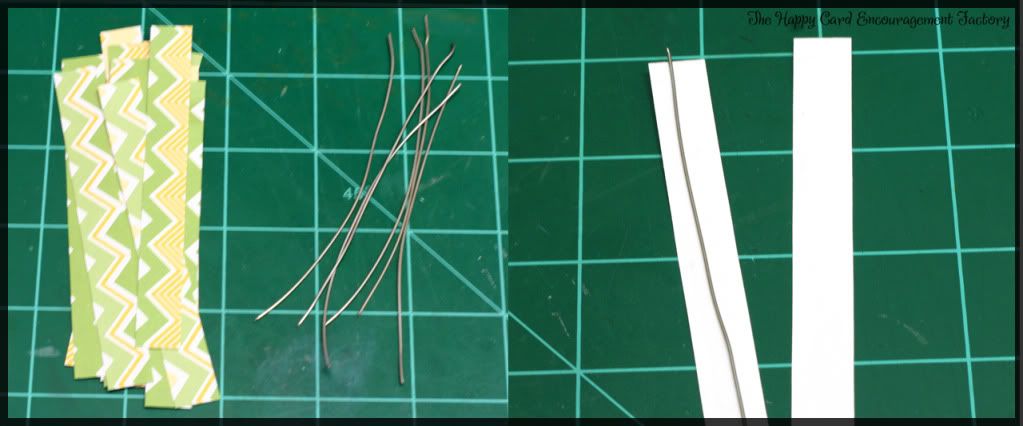
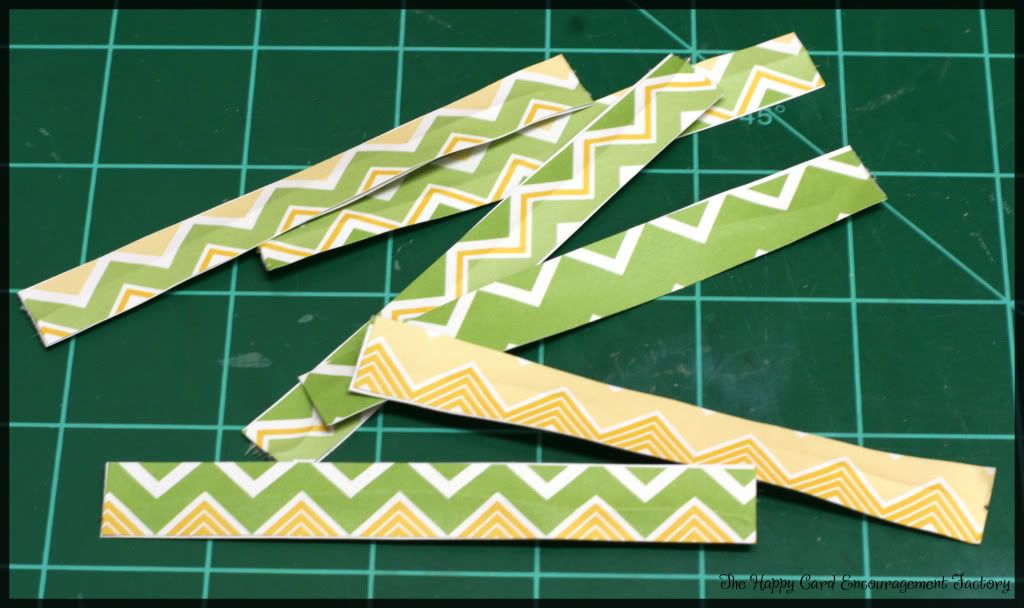
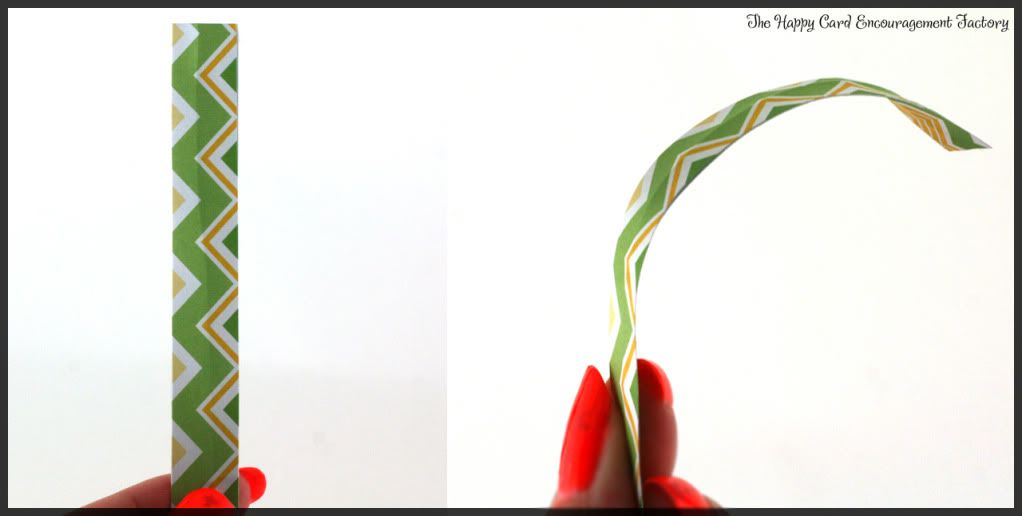
First, here’s what you do (super simple and only two supplies, three if you count glue)…make 2 strips of paper about 4″ long by 1/2″ wide.  Cut the wire just a fraction smaller.  Run adhesive down the middle, put your wire on one strip then place the second strip on top.  You are done!!!
 
OK, here’s what I learned – 1. Use thin paper.  I figured for the ties, I would use scraps or paper I am just not that fond of.  Because chances are, no one is going to keep a twist tie, well unless you are my grandmother.  I don’t like to see my expensive card stock in the garbage.  Also, thicker paper will tear a lot easier than bend.  2. Use thinner wire.  I don’t know the gauge I used here but I am thinking it is a 20 or 22.  I think 26 would be ideal.  Cut the wire shorter than the paper.  I didn’t and ask me how I know cut wire is sharp.  3. Use a dry adhesive.  Elmer’s or the like will not dry fast enough and I don’t think it will have the hold.  I used my Scotch ATG gun.  Or you could run the strips through a Xyron.  Both would be good choices.
 
I should have re-made the twist ties with the knowledge I gleaned so they would’ve looked better on the project but I made them so I used ’em.  I also won’t have a heart attack to see them in the garbage or floor.  See, I AM that cheap!  But you all already knew that…..
 
Have a great day and happy crafting!!
 
Supplies:
  • Under the Sea stamp set
  • 3.75″ x 6″ food grade treat bags
  • Fish Bowl SVG file
  • Swedish Fish candy
 

Filed Under: 3D, My Thoughts Exactly, Treat Bag, tutorial, Under the Sea

« Gender Reveal Continued
Mod Mom »

Comments

  1. Ruthie @ SeptemberNinth says

    May 3, 2012 at 2:51 pm

    These are darling Becki!

    Ruthie 🙂

    Reply
  2. Anonymous says

    May 3, 2012 at 8:22 pm

    My kids will do just about anything for gummies and Swedish fish. You could take advantage of that and make them earn them. haha!! super cute!

    Trish (ImaCutter)

    Reply
  3. HeatherLynn says

    May 3, 2012 at 6:36 pm

    oh my goodness..these are super adorable! love this idea..so cute and creative!! awesome, Becki!!!

    Hugs,
    HL

    Reply
  4. Rebecca Morefield-Wagner says

    May 4, 2012 at 4:42 pm

    Thanks ladies!

    Reply
  5. Therese says

    May 8, 2012 at 2:13 am

    Oh wow! Congratulations on being a part of MTE design team…very cool. I think this project is super cute and easy to reproduce, thanks for the tutorial for the twist ties. They look really good.

    Reply
  6. Cricut Chick says

    May 26, 2012 at 4:51 am

    OMG…This is so darn cute!

    Reply
  7. Rebecca Morefield-Wagner says

    May 31, 2012 at 1:36 pm

    Thanks, CC and Therese. CC, hope you don’t mind I gave you a nickname. 😉

    Reply
  8. Urszula Lech says

    March 29, 2015 at 11:05 pm

    Hi Becki..
    I love this idea for under the sea birthday party of my son but unfortunately I can not download the fish bowl file. Can you help me with that… thank you so much

    Reply
    • Becki says

      April 1, 2015 at 11:54 am

      Hi Urszula, sorry about the broken link. It has been fixed. I moved all my cutting files to my store a year ago and forgot to update some posts.

      Reply
  9. Libbi says

    December 28, 2016 at 7:58 pm

    Hey, I am trying to access the link to the fishbowls but having problems! Can you help me with this? Thank you!

    Reply
    • Becki says

      February 14, 2017 at 2:00 pm

      Hi, Libbi. I have moved websites since 2012 and no longer have the file up on the blog. You can email us through the contact page and I will see if I can send it to you.

      Thanks!

      Reply

Leave a Reply Cancel reply

Your email address will not be published. Required fields are marked *

This site uses Akismet to reduce spam. Learn how your comment data is processed.

About the Designer

Hi, I'm Rebecca. I am a child of God. A loving wife of 29 years. A boy mom. A collector of gadgets, gizmos, and superhero action figures. Making the world more organized one planner at a time. Read More…

  • Facebook
  • Instagram
  • Pinterest
  • Twitter

Looking for Something?

Categories

Copyright

You are welcome to feature or share any article, as long as you use only one image and link back to the specific post. You may NOT edit, crop, remove my watermark, or change my images in any way without written permission.

Republishing posts in their entirety is prohibited. If I somehow produce something that inspires you to create your own, please credit me and link back to my site. Thanks!
  • Blog
  • Home
  • Tutorials
  • About Me
  • Contact Me
  • 3D Projects
  • CGP VIP Group

Join us on Instagram

Now on to the cutting phase. #citygirlplanners # Now on to the cutting phase. 

#citygirlplanners #stationerylove #plannercommunity #behindthescenes
New notepads in the making. Any guesses? #citygir New notepads in the making. Any guesses?

#citygirlplanners #plannercommunity #plannerlove #citygirlplannersinserts
Nothing ruins a perfectly good month like… bills Nothing ruins a perfectly good month like… bills.

Good news: when everything’s written down, at least the chaos is organized.

Pay it. Check it off. Pretend you’re thriving.

#CityGirlPlanners #AdultingButMakeItCute #BillTracker #PlannerLife #OrganizedChaos
Personal Size planners get a bad rap for one reaso Personal Size planners get a bad rap for one reason…

They’re narrow.

And I get it.
Personal is the perfect middle ground. Bigger than Pocket, fits in your purse, but way more portable than A5.

But the width?
That’s always been the complaint.

Lately I’ve been seeing people try to squeeze Personal Wide into standard Personal binders… and then wonder why the pages stick out.

So instead of making it wider… I went the other direction.

Foldouts.

For 2026, I reworked the layout to give you more planning space without changing the footprint.

Month on one page
Straight into your weekly
Dashboard space (because you know I had to keep that)
And when it’s folded?
Standard Personal Size. Fits your binder like it should.

Now I need your opinion before I finalize this…

What works better in vertical boxes?

Graph (left side)
or
Lines (right side)

Tell me in the comments — Graph or Lines?
Who else misses Micro planners? I found this under Who else misses Micro planners? I found this under a stack of papers. Don’t know how long it’s been chillin under there but I’m going to start using it. Great for quick notes and things you need to dump but don’t need long term.
Field research, planner style. Since the Coach no Field research, planner style.

Since the Coach notebooks are sold out, I grabbed this leather cover on Amazon to test the fit.
Good news: it fits beautifully (and it’s roomy enough for tabs).

Bad news?
I got excited and didn’t read the whole listing.

No snap.
No elastic.
Just vibes.

Luckily I’ve got elastic on hand… but consider this your reminder from someone who learned the hard way:

Read the full listing, friends.

#plannerlife #plannercommunity #a5planner #plannerfinds #citygirlplanners
Sometimes the best combinations aren’t planned… they just happen.

The Aquarelle Sky cover paired with Candy Rush tabs turned out to be one of those moments. The colors line up so perfectly, it looks like they were made for each other.

Just a little unexpected color magic.
Every tab is placed by hand. Nothing here is auto Every tab is placed by hand.

Nothing here is automated. We print, cut, laminate, punch, and assemble every order ourselves.

When you shop with us, two real humans have touched every single piece.

#smallbusinesslife #madebyhand #behindthescenes #plannercommunity  #shopsmallbusiness
Does anyone else suddenly become a pink-and-purple Does anyone else suddenly become a pink-and-purple person in February…
or is it just me?

I don’t even fight it anymore.
February = soft colors, cozy plans, and a planner that matches the mood. 💕

#februaryvibes #plannercommunity #pinkplanner #plannerlove #citygirlplanners
Follow Us!

Categories

Archives

Copyright © 2026 · HappyCardFactory Designs